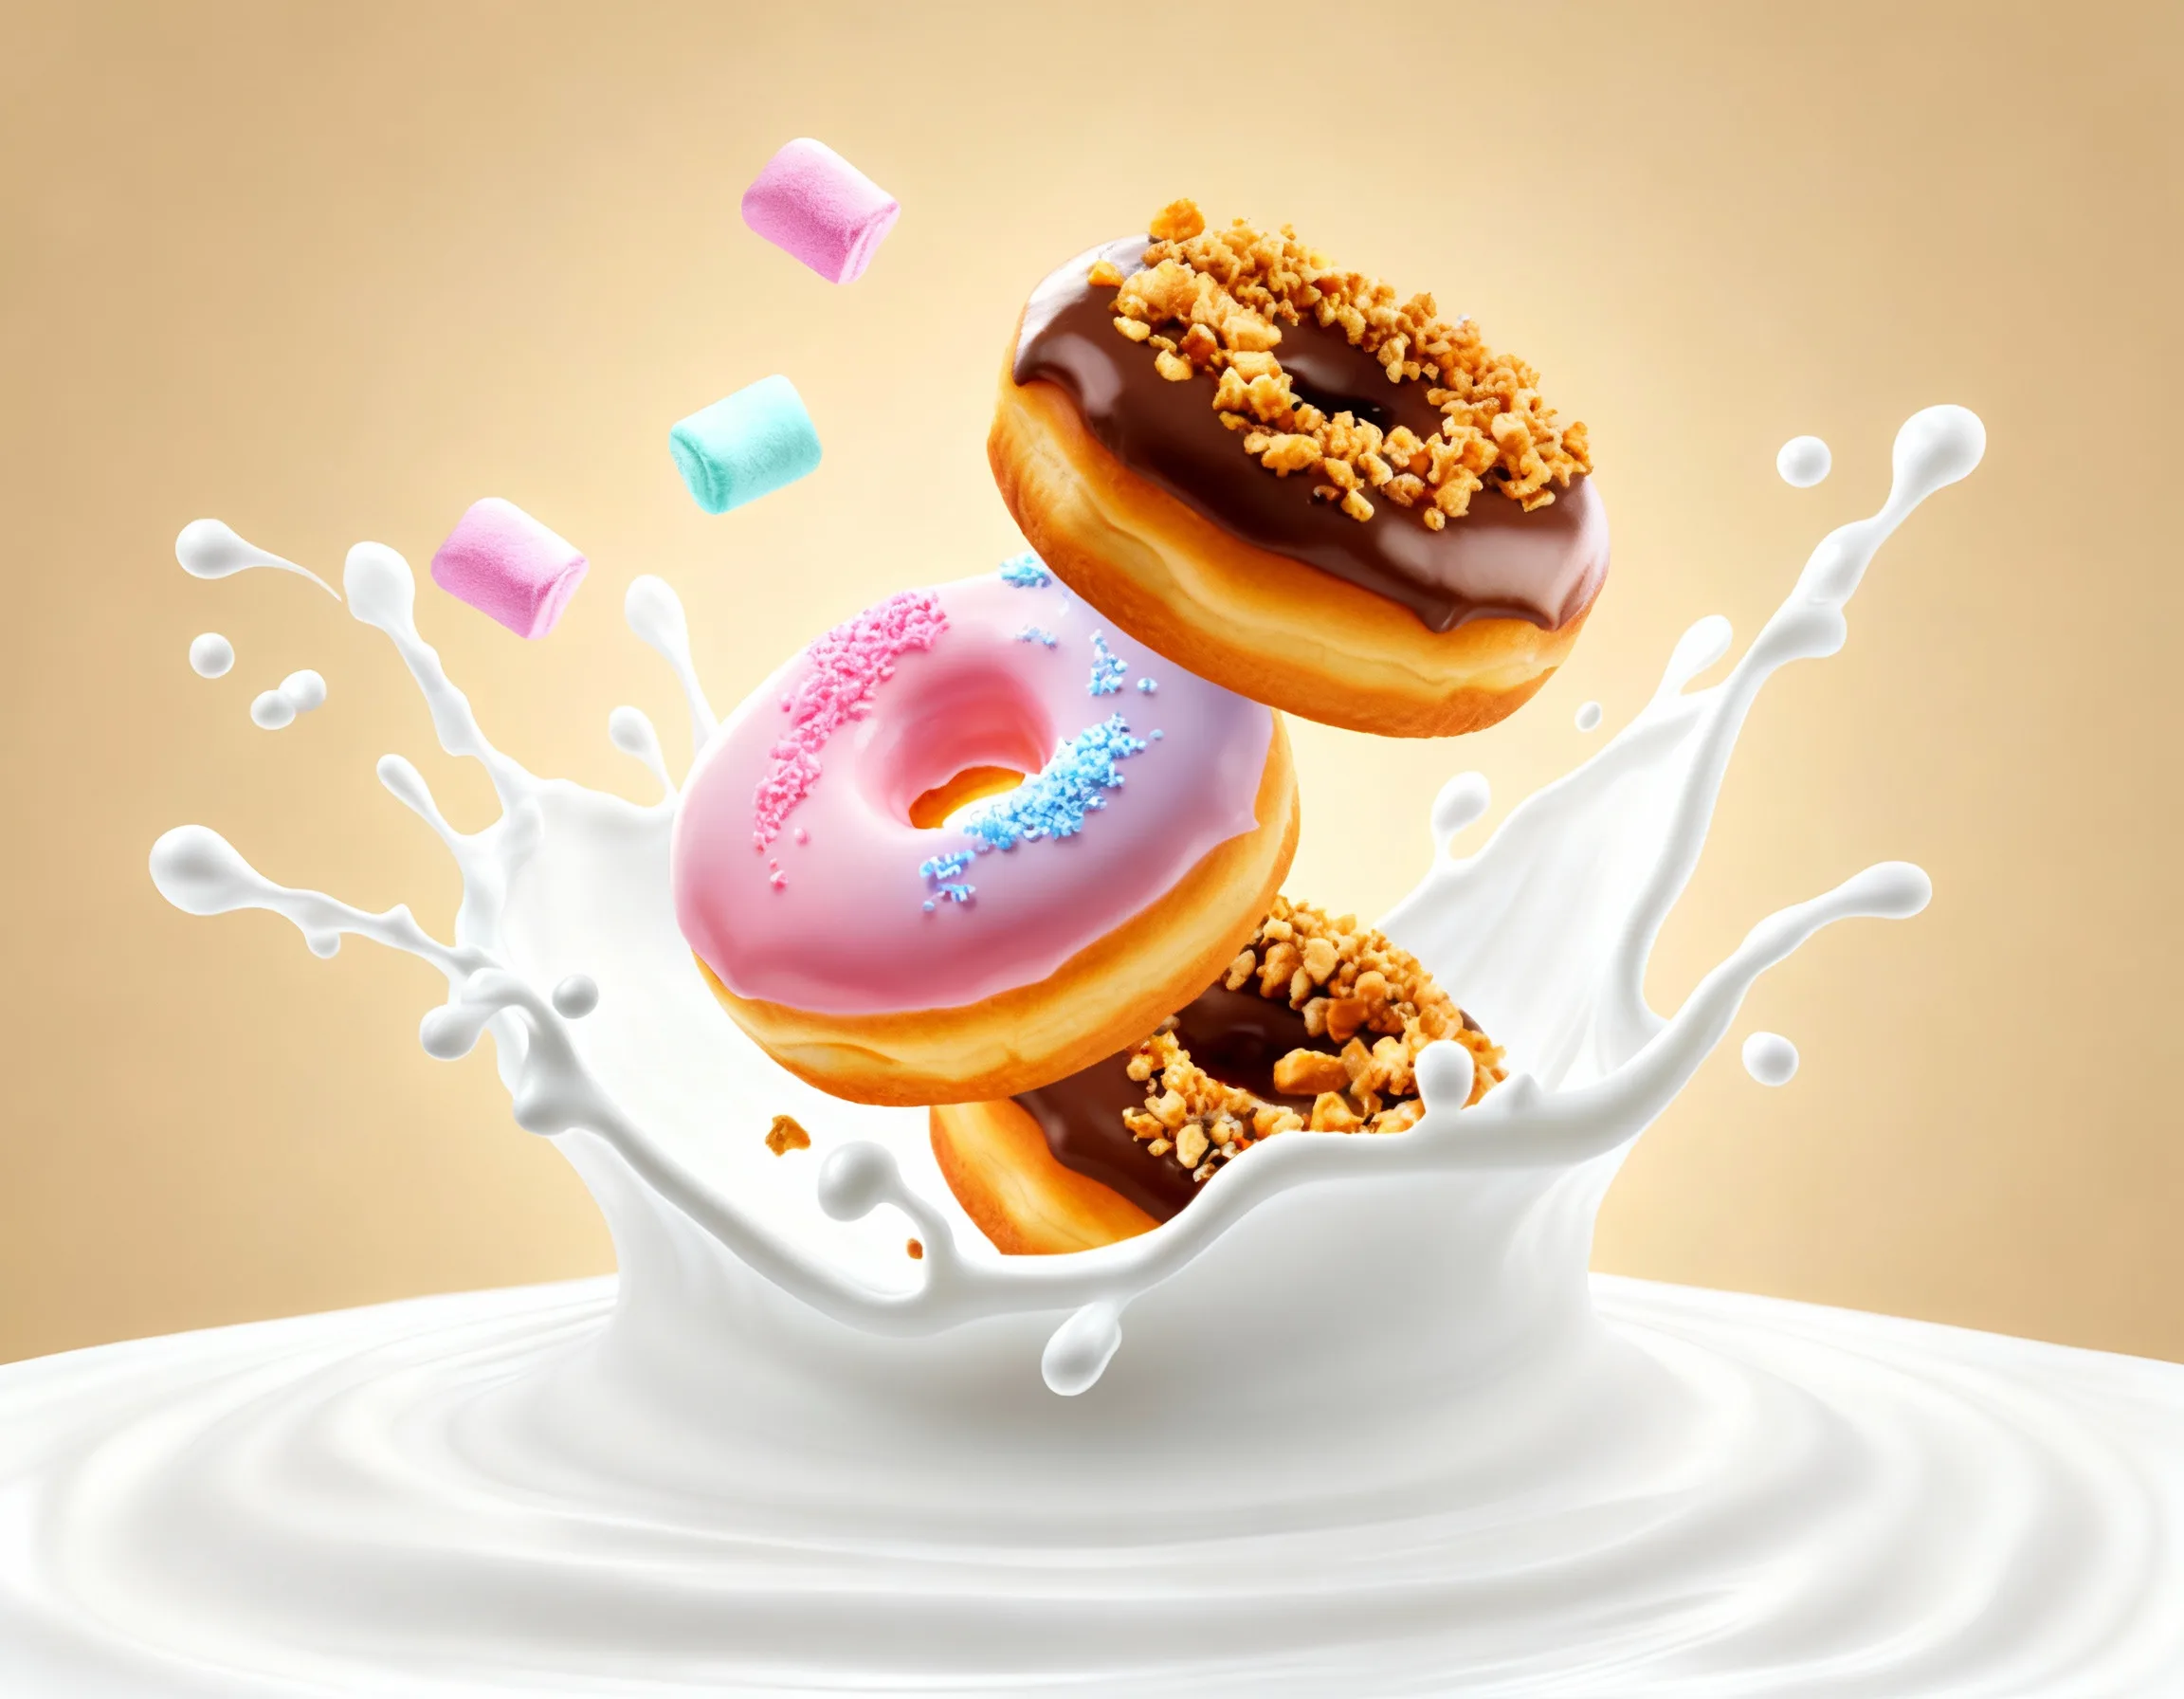



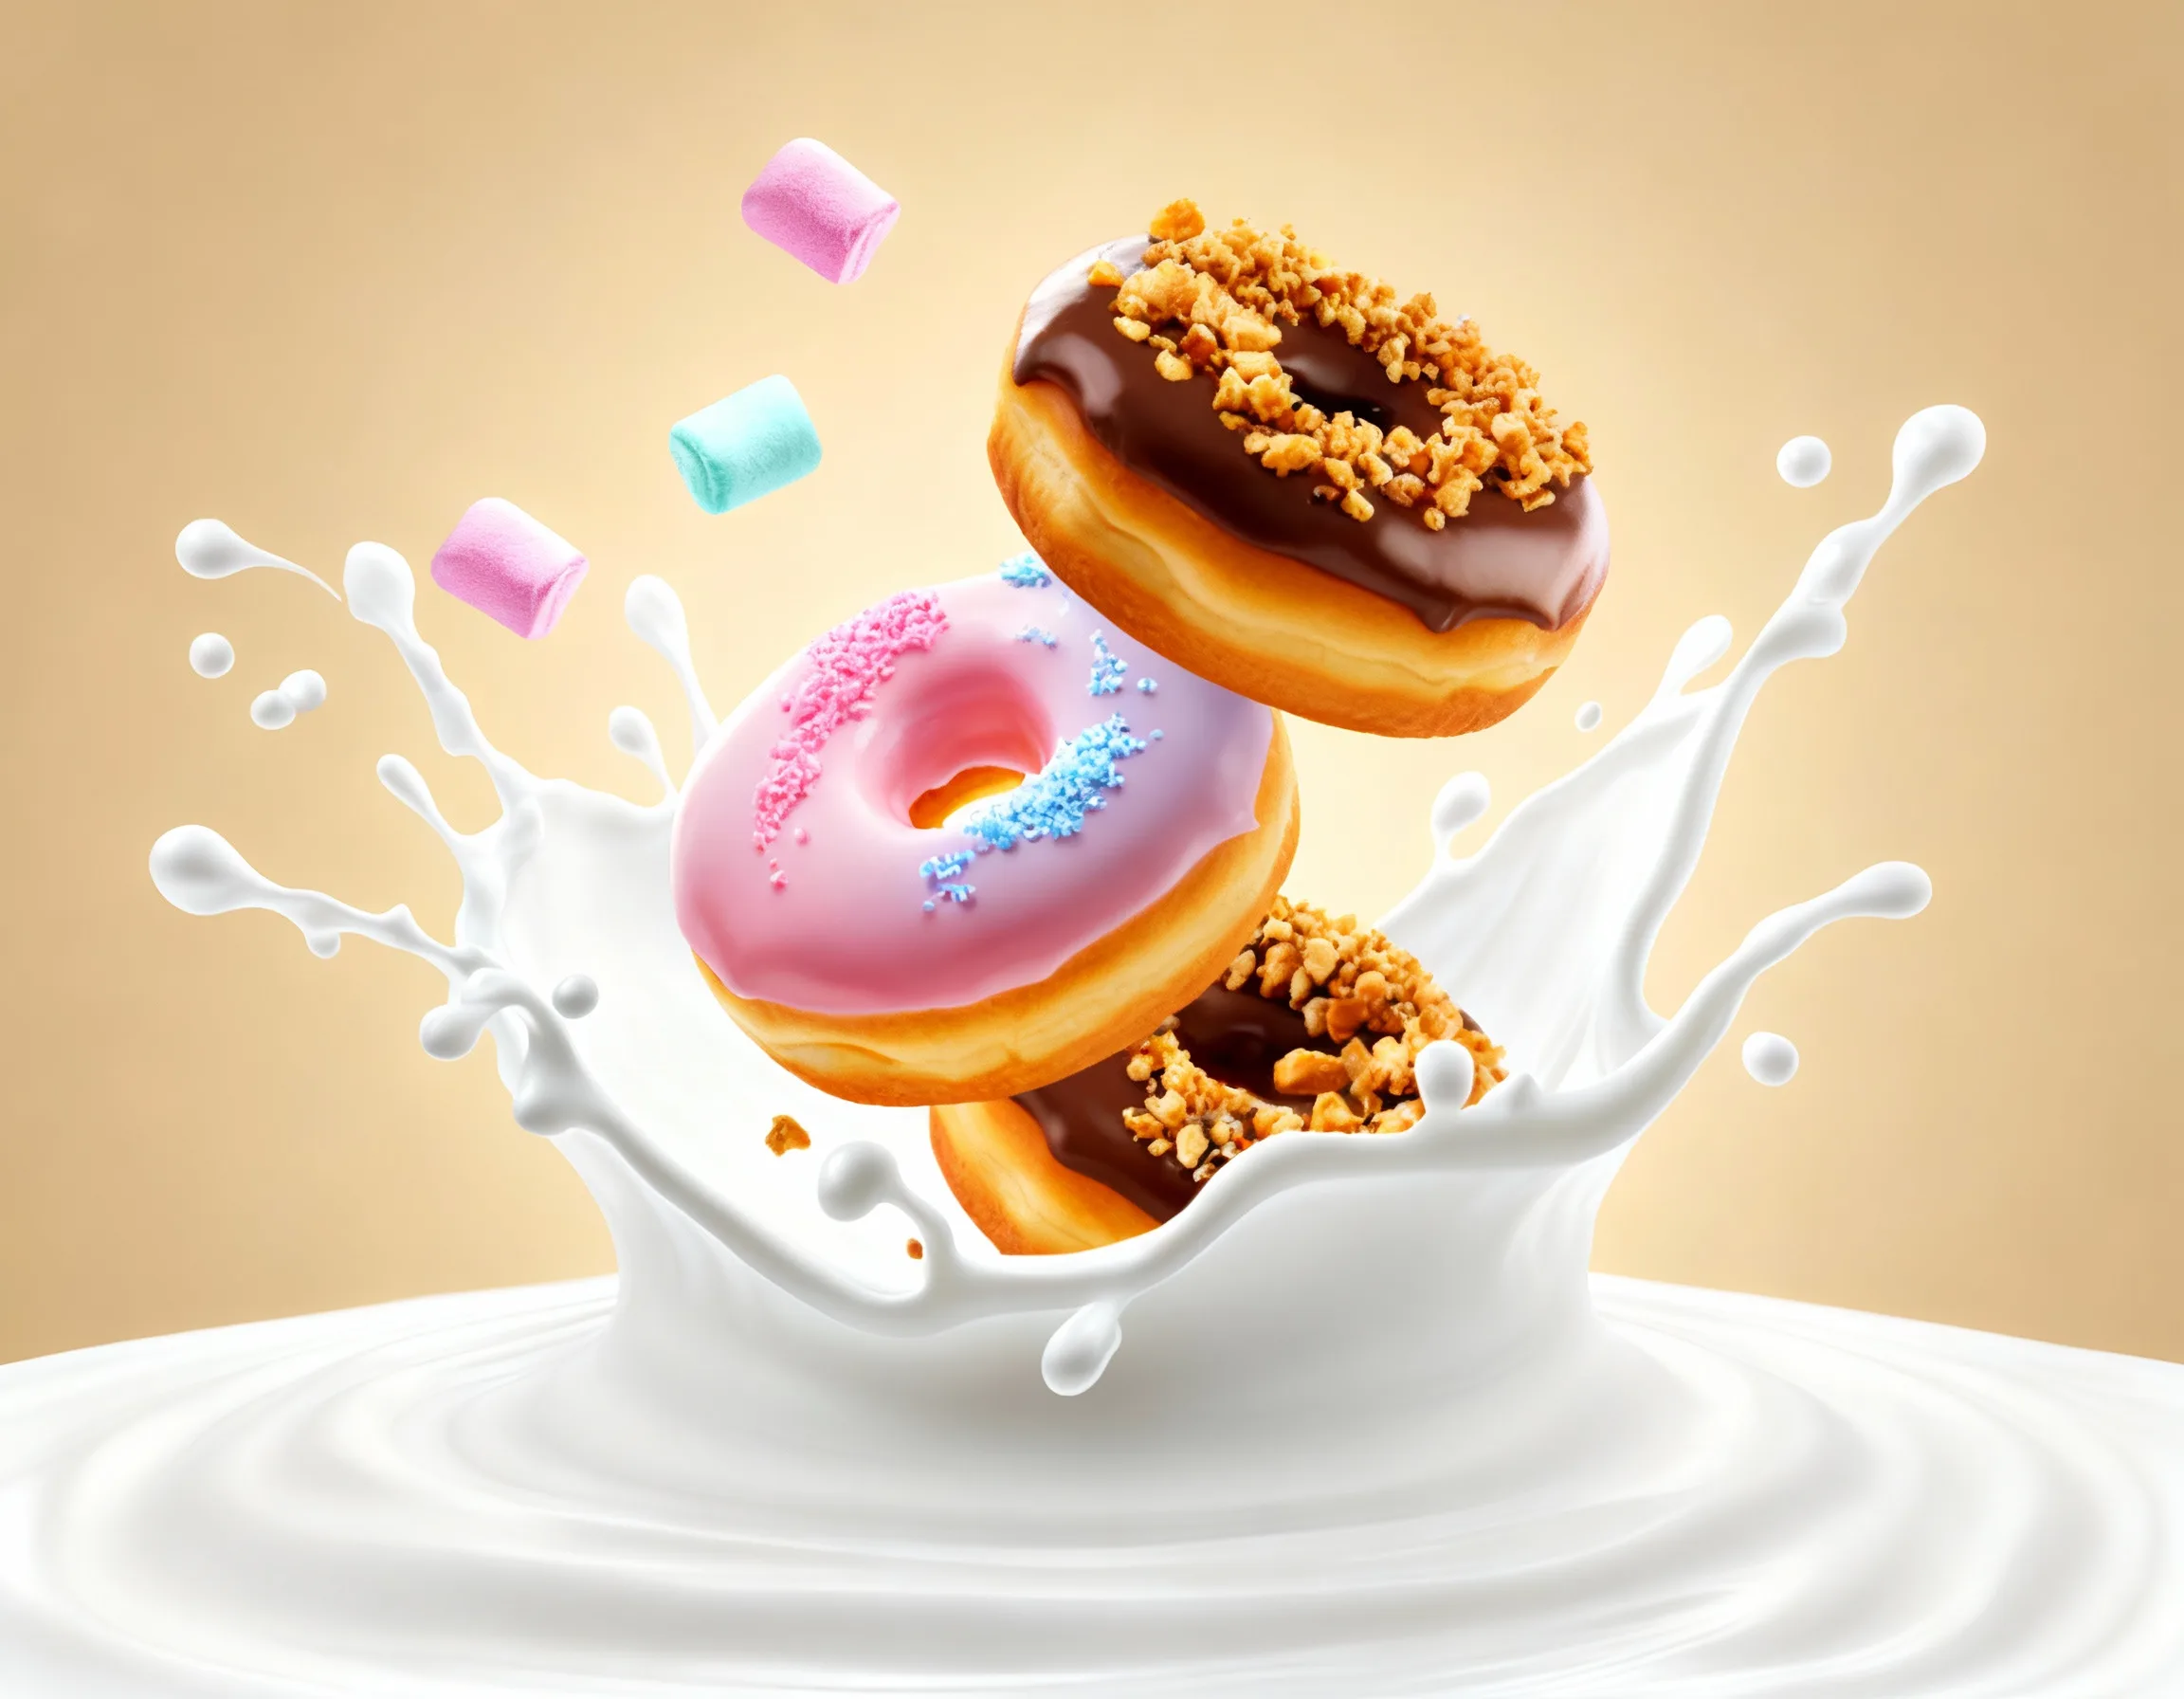
Photo Enhancer before and after
Start with a blurry, compressed, dark, or low-resolution photo; the result shows sharper detail, cleaner color, reduced noise, and a natural high-resolution look in a clear before-and-after comparison.
Use GPT Image 2 to enhance blurry photos, improve low-resolution images, and clean compressed social media pictures. This Photo Enhancer workflow focuses on sharper detail, cleaner color, reduced noise, and a natural high-resolution look.


See how Photo Enhancer works when you need to enhance blurry photos, improve low-resolution images, and clean compressed social media pictures.
Start with a blurry, compressed, dark, or low-resolution photo; the result shows sharper detail, cleaner color, reduced noise, and a natural high-resolution look in a clear before-and-after comparison.
Best with a blurry, compressed, dark, or low-resolution photo. Keep the main subject clear so GPT Image 2 can preserve recognizable detail while applying the Photo Enhancer look.
Use it when you need to enhance blurry photos, improve low-resolution images, and clean compressed social media pictures. These examples show finished outputs, so users can judge the Photo Enhancer look before uploading.
Common questions about using Photo Enhancer
Still have questions? Contact us at [email protected]